Uniforce® Clamps
Measurements Available: Inch, Metric
Uniforce® Clamps
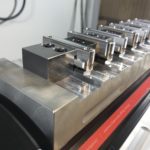
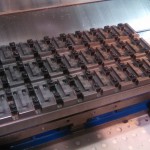
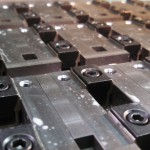
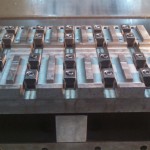
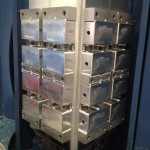
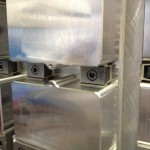
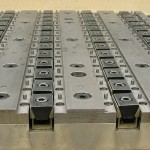
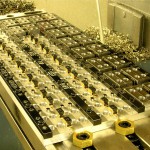
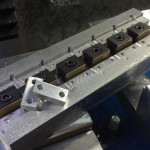
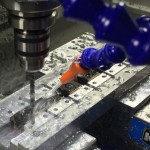
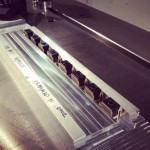
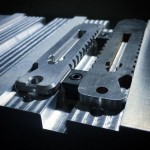
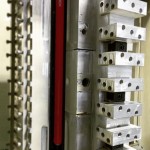
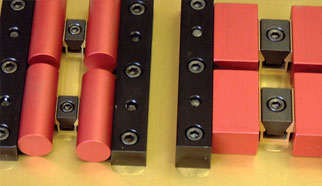
The compact, economical MITEE-BITE Uniforce® Clamp enables you to fixture more parts on the machine table. The specially designed steel wedge spreads the clamping force uniformly on both sides of the 7075-T6 aluminum channel.
– Increases production.
– Minimizes tool changes.
– Holds two parts with equilateral clamping action.
– Ideal for clamping flat or round work pieces.
– Reduces wasted space.
– Easily mated to hydraulic pull cylinders.
– Ideal for pallet changers.
– Show with our Locating Rails
 |
Inch
|
||||||||||||||||||||||||||||||||||||||||||||||||||||||||||||||||||||||||||||||||||||||||||||||||||||||||||||||||||||||||||||||||||||||||||||||||
*D – A milled slot wider than D dimension will insure clamp remains in line with workpiece. Clamp sides should not come in contact with slot walls during expansion.
†F is the distance needed between workpieces for clamp clearance. Drill and tap mounting hole on the center of F dimension.
Metric
|
||||||||||||||||||||||||||||||||||||||||||||||||||||||||||||||||||||||||||||||||||||||||||||||||||||||||||||||||||||||||||||||||||||||||||||||||
F† The distance needed between workpieces for clamp clearance. Drill and tap mounting hole on the center of F dimension.
Applications
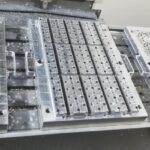
- Image courtesy of Jesse Taber
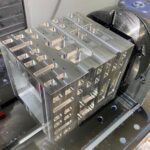
- Image courtesy of @freakingreen
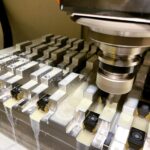
- Image courtesy of @grayopscnc
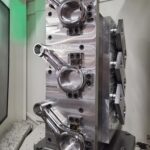
- Image courtesy of @themodernmachinist
- Peter Stokes – Mitee-Bite Facebook Community – My latest mitee bite fixture. All three have removable top plates located with 4 Mitee Bite ID clamps while operator reloads another set of identical top plates while machine continues to run. 60 complete parts in 2.5 hrs(can speed up the program a bit) with 4 total operations on each part. Fun to design and make.
- Peter Stokes – Mitee-Bite Facebook Community – My latest mitee bite fixture. All three have removable top plates located with 4 Mitee Bite ID clamps while operator reloads another set of identical top plates while machine continues to run. 60 complete parts in 2.5 hrs(can speed up the program a bit) with 4 total operations on each part. Fun to design and make.
- @jack_vanderpols – Needed a removable work stop for quickly setting up these parts that are machined on 3 faces. Needed a solution that can be removed but also wouldn’t be forgotten by the operator. Toyed with ideas of varying difficulties for a day and finally decided on easy does it. Block of aluminum, magnets, m6 cap screws, and some tennis string. Turned out effective for a minimal amount of effort put in.
- Image courtesy of @jack_vanderpols.
- Image courtesy of @freakingreen. “Setting up pallets again to rack and stack more aluminum and get numerous parts done in one set up.”
- Image courtesy of @tecuscncteknolojileri
- Image courtesy of @tecuscncteknolojileri
- Image courtesy of @advancedmachineengineering
- Image courtesy of @absolute_cnc_sa
- Image courtesy of @djprecisionmachine
- Image courtesy of @officinescalella
- Image courtesy of @gmc_cnc_machining
- Image courtesy of @innovatools_inc


