Modular XYZ Xpansion® Pins
Measurements Available:
Modular XYZ Xpansion™ Pins
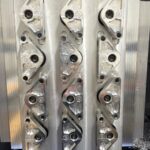
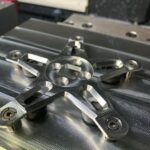
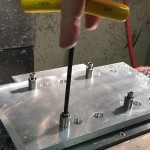
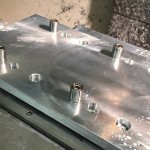
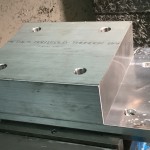
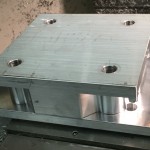
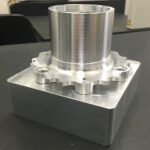
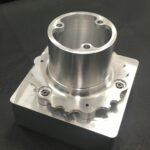
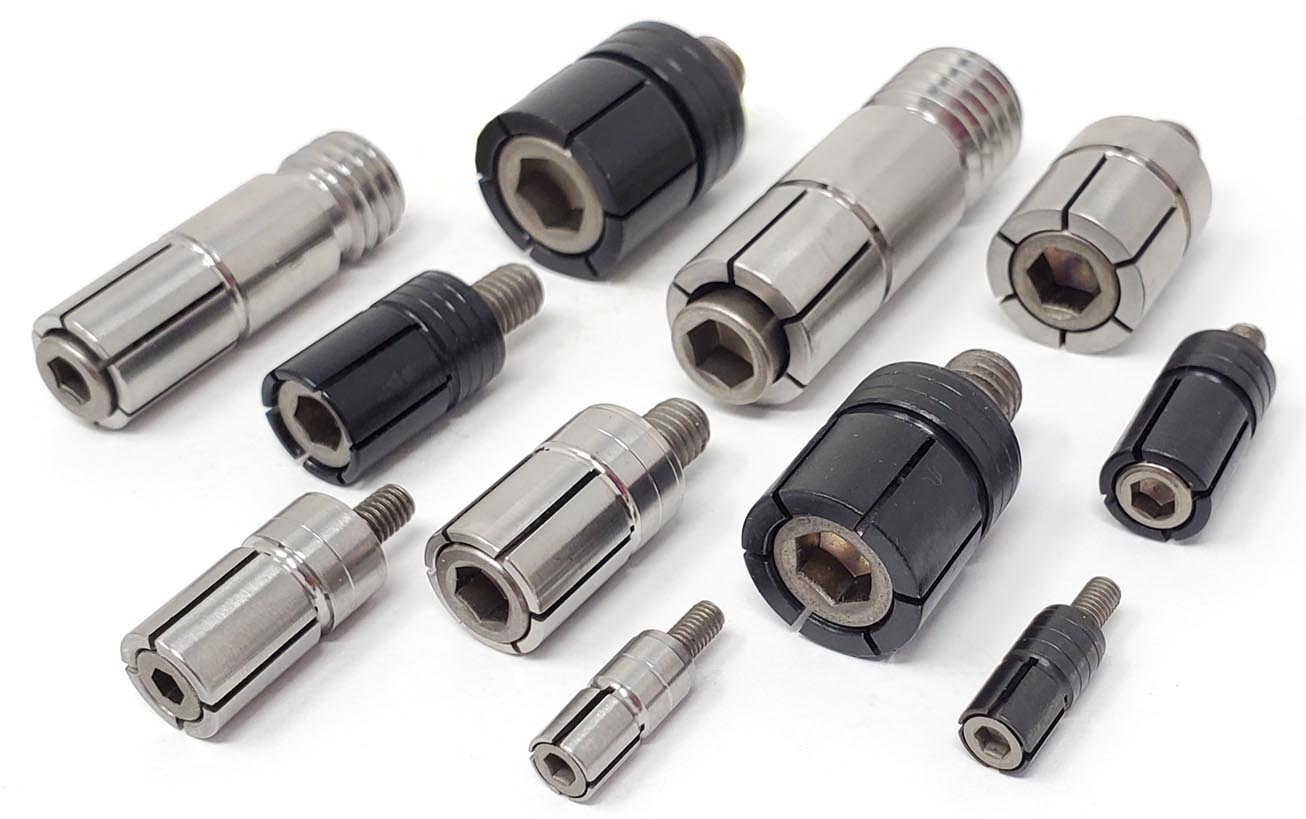
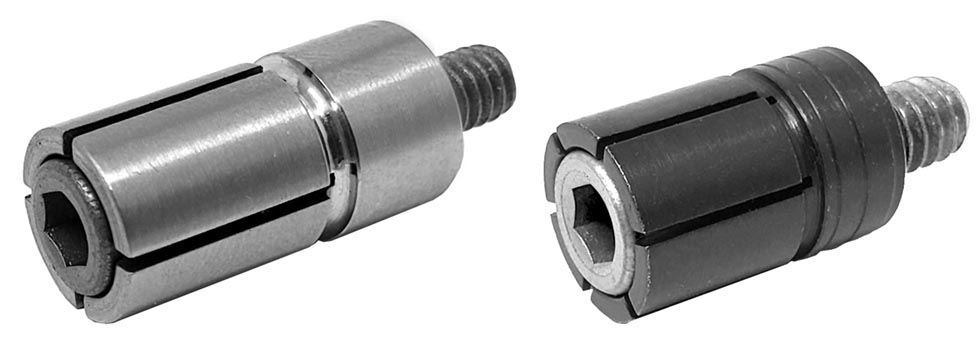
Mitee-Bite Products releases the new Modular XYZ Xpansion™ Pins for Tombstone, Grid Plate and Fixture Plate applications. The unique, patent pending design provides accurate location, repeatability and high holding forces for securing parts on the inside diameter. The XYZ Pin provides “out of the way workholding” and accessibility to all work surfaces with absolutely no external clamping interference. The Threaded Pin is available in standard sizes of 1/2, 5/8, M12 and M16 for tombstones and grid plates. The Press Fit Pins are available in 1/4, 3/8, 1/2, 5/8, M6, M10, M12 and M16 diameters for custom applications. Both styles of the pins are manufactured from “heat treatable” 17-4PH stainless steel. The Press Fit Pins are now also available in 12L14 mild steel. The Pins expand up to 0.030″ (0.7mm) and the diameter can be machined for specific applications. The top of the Pins have a slight taper creating maximum line contact in bore and provides clearance during load/unload. Designed for quick set-ups on secondary operations, material coming off prep stations, water-jets or even applications outside of your machining centers!
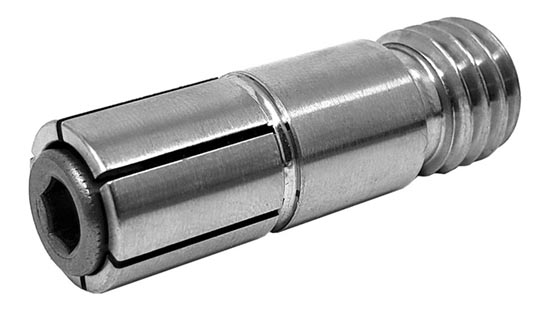
Threaded Pins
Threaded XYZ Pins (in 17-4PH) incorporate an internal rotary broached hex for simple installation and removal from a tombstone, grid plate or fixture plate. Threaded Pins may be installed in a drilled and reamed hole for precise location or set in a hardened drill bushing for additional strength and wear resistance. To install a Threaded XYZ Pin in a precision bore, drill/tap accordingly and ream the hole over the nominal diameter minimum of +0.0001 to +0.0005″. (+.003 to +0.013mm)
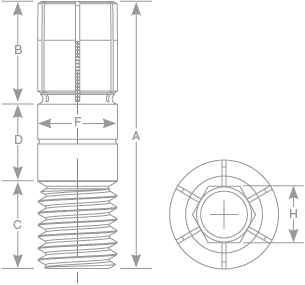
*G – Minimum diameter pin can be machined or turned down to |
Press Fit Pins
Pins are intended for press fit or close tolerance removable slide fit applications. Install in a precision bore or a bushing with the center threaded for the Tapered screw. If precise location is not necessary, pin can be used on top of fixture plate. An accessory kit is available to make Installation and Removal (I/R) of the XYZ Pins quick and easy.
Note: If recessing pin into fixture beyond slits be sure to provide clearance for expanding segments.
| 17-4PH (SS) Part No. |
12L14 (Mild Steel) Part No. |
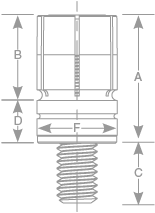
Description | A | B | C | D | F(+/-) .000/.001″ (.000/ .025mm) |
G* | Replacement Tapered Screw | Tapered Screw Thread x Length |
Installation/ Removal (I/R) Tool Set** |
||
|---|---|---|---|---|---|---|---|---|---|---|---|---|---|
| 31730 | CAD | 31630 | CAD | Press Fit 1/4″ | .500″ | 0.27″ | 0.29″ | 0.23″ | .250″ | .219″ | 31731S | 5-40 x 5/8 | 31720 |
| 38730 | CAD | 38630 | CAD | Press Fit 6mm | 13mm | 7mm | 7.3mm | 5.8mm | 6.00mm | 5.5mm | 38731S | M3-0.5 x 16mm | 38720 |
| 31740 | CAD | 31640 | CAD | Press Fit 3/8″ | .750″ | 0.50″ | 0.33″ | 0.25″ | 0.375″ | 0.281″ | 31002S | 8-32 x 7/8 | 31721 |
| 38740 | CAD | 38640 | CAD | Press Fit 10mm | 19mm | 12.7mm | 8.4mm | 6.35mm | 10.00mm | 7.5mm | 38002S | M4-0.7 x 22mm | 38721 |
| 31750 | CAD | 31650 | CAD | Press Fit 1/2″ | .750″ | 0.50″ | 0.45″ | 0.25″ | .500″ | 0.413″ | 31010S | 1/4-20 x 7/8 | 31722 |
| 38750 | CAD | 38650 | CAD | Press Fit 12mm | 19mm | 12.7mm | 11.1mm | 6.35mm | 12.00mm | 10.5mm | 38010S | M6-1 x 22mm | 38722 |
| 31760 | CAD | 31660 | CAD | Press Fit 5/8″ | .750″ | 0.50″ | 0.52″ | 0.25″ | .625″ | 0.472″ | 31020S | 5/16-18 x 7/8 | 31723 |
| 38760 | CAD | 38660 | CAD | Press Fit 16mm | 19mm | 12.7mm | 13mm | 6.35mm | 16.00mm | 12mm | 38020S | M8-1.25 x 22mm | 38723 |
| NA | 31670 | CAD | Press Fit 3/4″ | .875″ | .562″ | 0.56″ | 0.31″ | .750″ | .625″ | 31032S | 3/8-16 x 7/8 | 31724 | |
| NA | 38670 | CAD | Press Fit 20mm | 22mm | 14mm | 13mm | 8mm | 20.00mm | 16mm | 38032S | M10-1.5 x 22mm | 38724 |
** Set includes screws (2) SHCS
Tapered Screw included with pin
The 17-4 PH Stainless-Steel Press fit Pins no longer have internal threads to reduce cost to you. If you intend to remove using one of our Installation/Removal (I/R) Kits, tap through the XYZ Pin with the thread size listed in the ID Pullout Thread column (found on the Additional Data form above) before installation in a fixture. The use of the I/R tool for Press Fit XYZ Pin installation does not require the ID thread be used. Contact Mitee-Bite Products for other options to remove if installed without threads and requires removal.
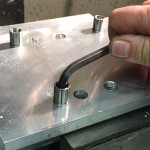
Modular XYZ Xpansion™ Press Fit Pin Installation/Removal Tool Instructions

NOTE: Prepare bore per Modular XYZ Xpansion® Press Fit Pin Instructions.
INSTALLATION:
1. Using smaller SHCS and washer place pin over bore and press into fixture.
2. Remove SHCS and washer and install tapered drive screw. Ready for use.

REMOVAL:
1. Remove the tapered drive screw.
2. Place the puller over the Pin, set larger washer on top.
3. Tighten screw until pin is fully removed from fixture.
4. Capture pin through window slot to remove SHCS.
PATENT NO. 10,458,459
Applications
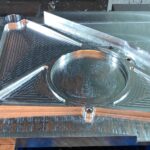
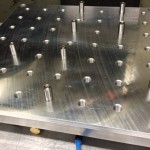
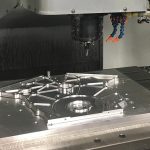
- Image courtesy of Jorge A Nin
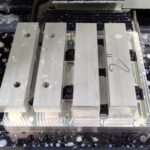
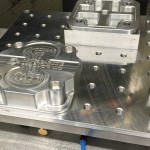
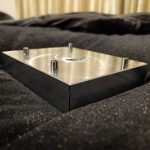
- @gibblespeed_ – I’m digging the #miteebite setup.
- @gibblespeed_ – I’m digging the #miteebite setup.
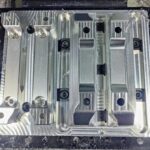
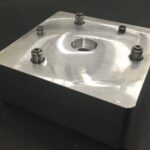
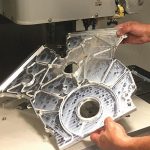
- Image courtesy of @jason_chipley
- Image courtesy of @jason_chipley
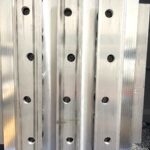
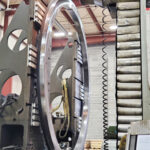
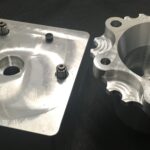
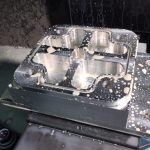
- Image courtesy of Akron Gear
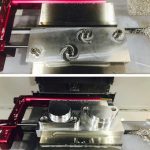
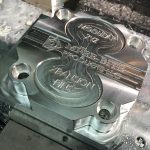
- Image courtesy of R&R CNC Services


